How to Take High-Res Photos with Your iPhone
Stock photography has its place, but clients and customers connect more deeply with photos that are genuinely yours. If you've been putting off updating your website or social profiles with real images, the barrier might be simpler to clear than you think.
Start with your camera settings
Go to Settings → Camera → Formats and select Most Compatible. This saves your photos as JPEGs, which are larger files with more image data than the HEIF format your iPhone uses by default.
To shoot at the highest resolution, go to Settings → Camera → Formats → Photo Mode and select 48MP. Your iPhone defaults to 24MP to save storage space, but switching to 48MP gives you significantly more detail and a much larger file when you need it. You can also toggle this on the fly inside the Camera app itself — look for the resolution indicator in the corner and tap it to switch.
With these settings in place, a well-lit photo should easily come in at 3MB to 8MB or more.
A note on file format: why HEIC doesn't work
Even with the right resolution, photos taken on an iPhone sometimes arrive as .heic files — and those typically can't be used on a website as-is. HEIC is Apple's proprietary format, and while it looks fine on your phone, it isn't universally supported by browsers, content management systems, or design tools.
The fix is the same setting mentioned above: switching your camera format to Most Compatible ensures your photos save as JPEGs (.jpg), which work everywhere. If you've already taken photos in HEIC format, you have a couple of options:
On your iPhone, when you AirDrop or email a photo to yourself or your designer, your phone may automatically convert it to JPEG. To make sure this happens, go to Settings → Photos → Transfer to Mac or PC and select Automatic.
If you need to convert HEIC files you already have, a free tool like iMazing HEIC Converter (Mac/Windows) or simply opening the file on a Mac and exporting it as a JPEG via Preview will do the job.
Shoot in good light
Light is the single biggest factor in photo quality. Bright, even natural light — near a window or outdoors on an overcast day — gives your camera the most information to work with. Low light forces the camera to compensate in ways that reduce sharpness and shrink your file size.
Avoid shooting directly into sunlight or in rooms with harsh shadows. Soft, diffused light is your best friend.
A few things to avoid
Don't zoom in. Digital zoom (anything beyond your phone's optical lenses) crops the image and reduces the number of pixels. If you need to get closer, move your feet instead.
Don't use Portrait mode for photos intended for a website. It applies additional processing that can reduce file size and introduce artifacts around edges.
And give your lens a quick wipe before you shoot. A smudged lens softens every photo you take, no matter how good your settings are.
How to check your file size
After you take the photo, open it in your Photos app and tap the info icon (the small circle with an "i") at the bottom of the screen. You'll see the file size listed there. For most web projects, you want to see at least 2–3MB. Bigger is fine — your web designer can always resize down.
When in doubt, take more than one
Take several shots and send the largest file. It's much easier to work with an image that has too much information than one that doesn't have enough.
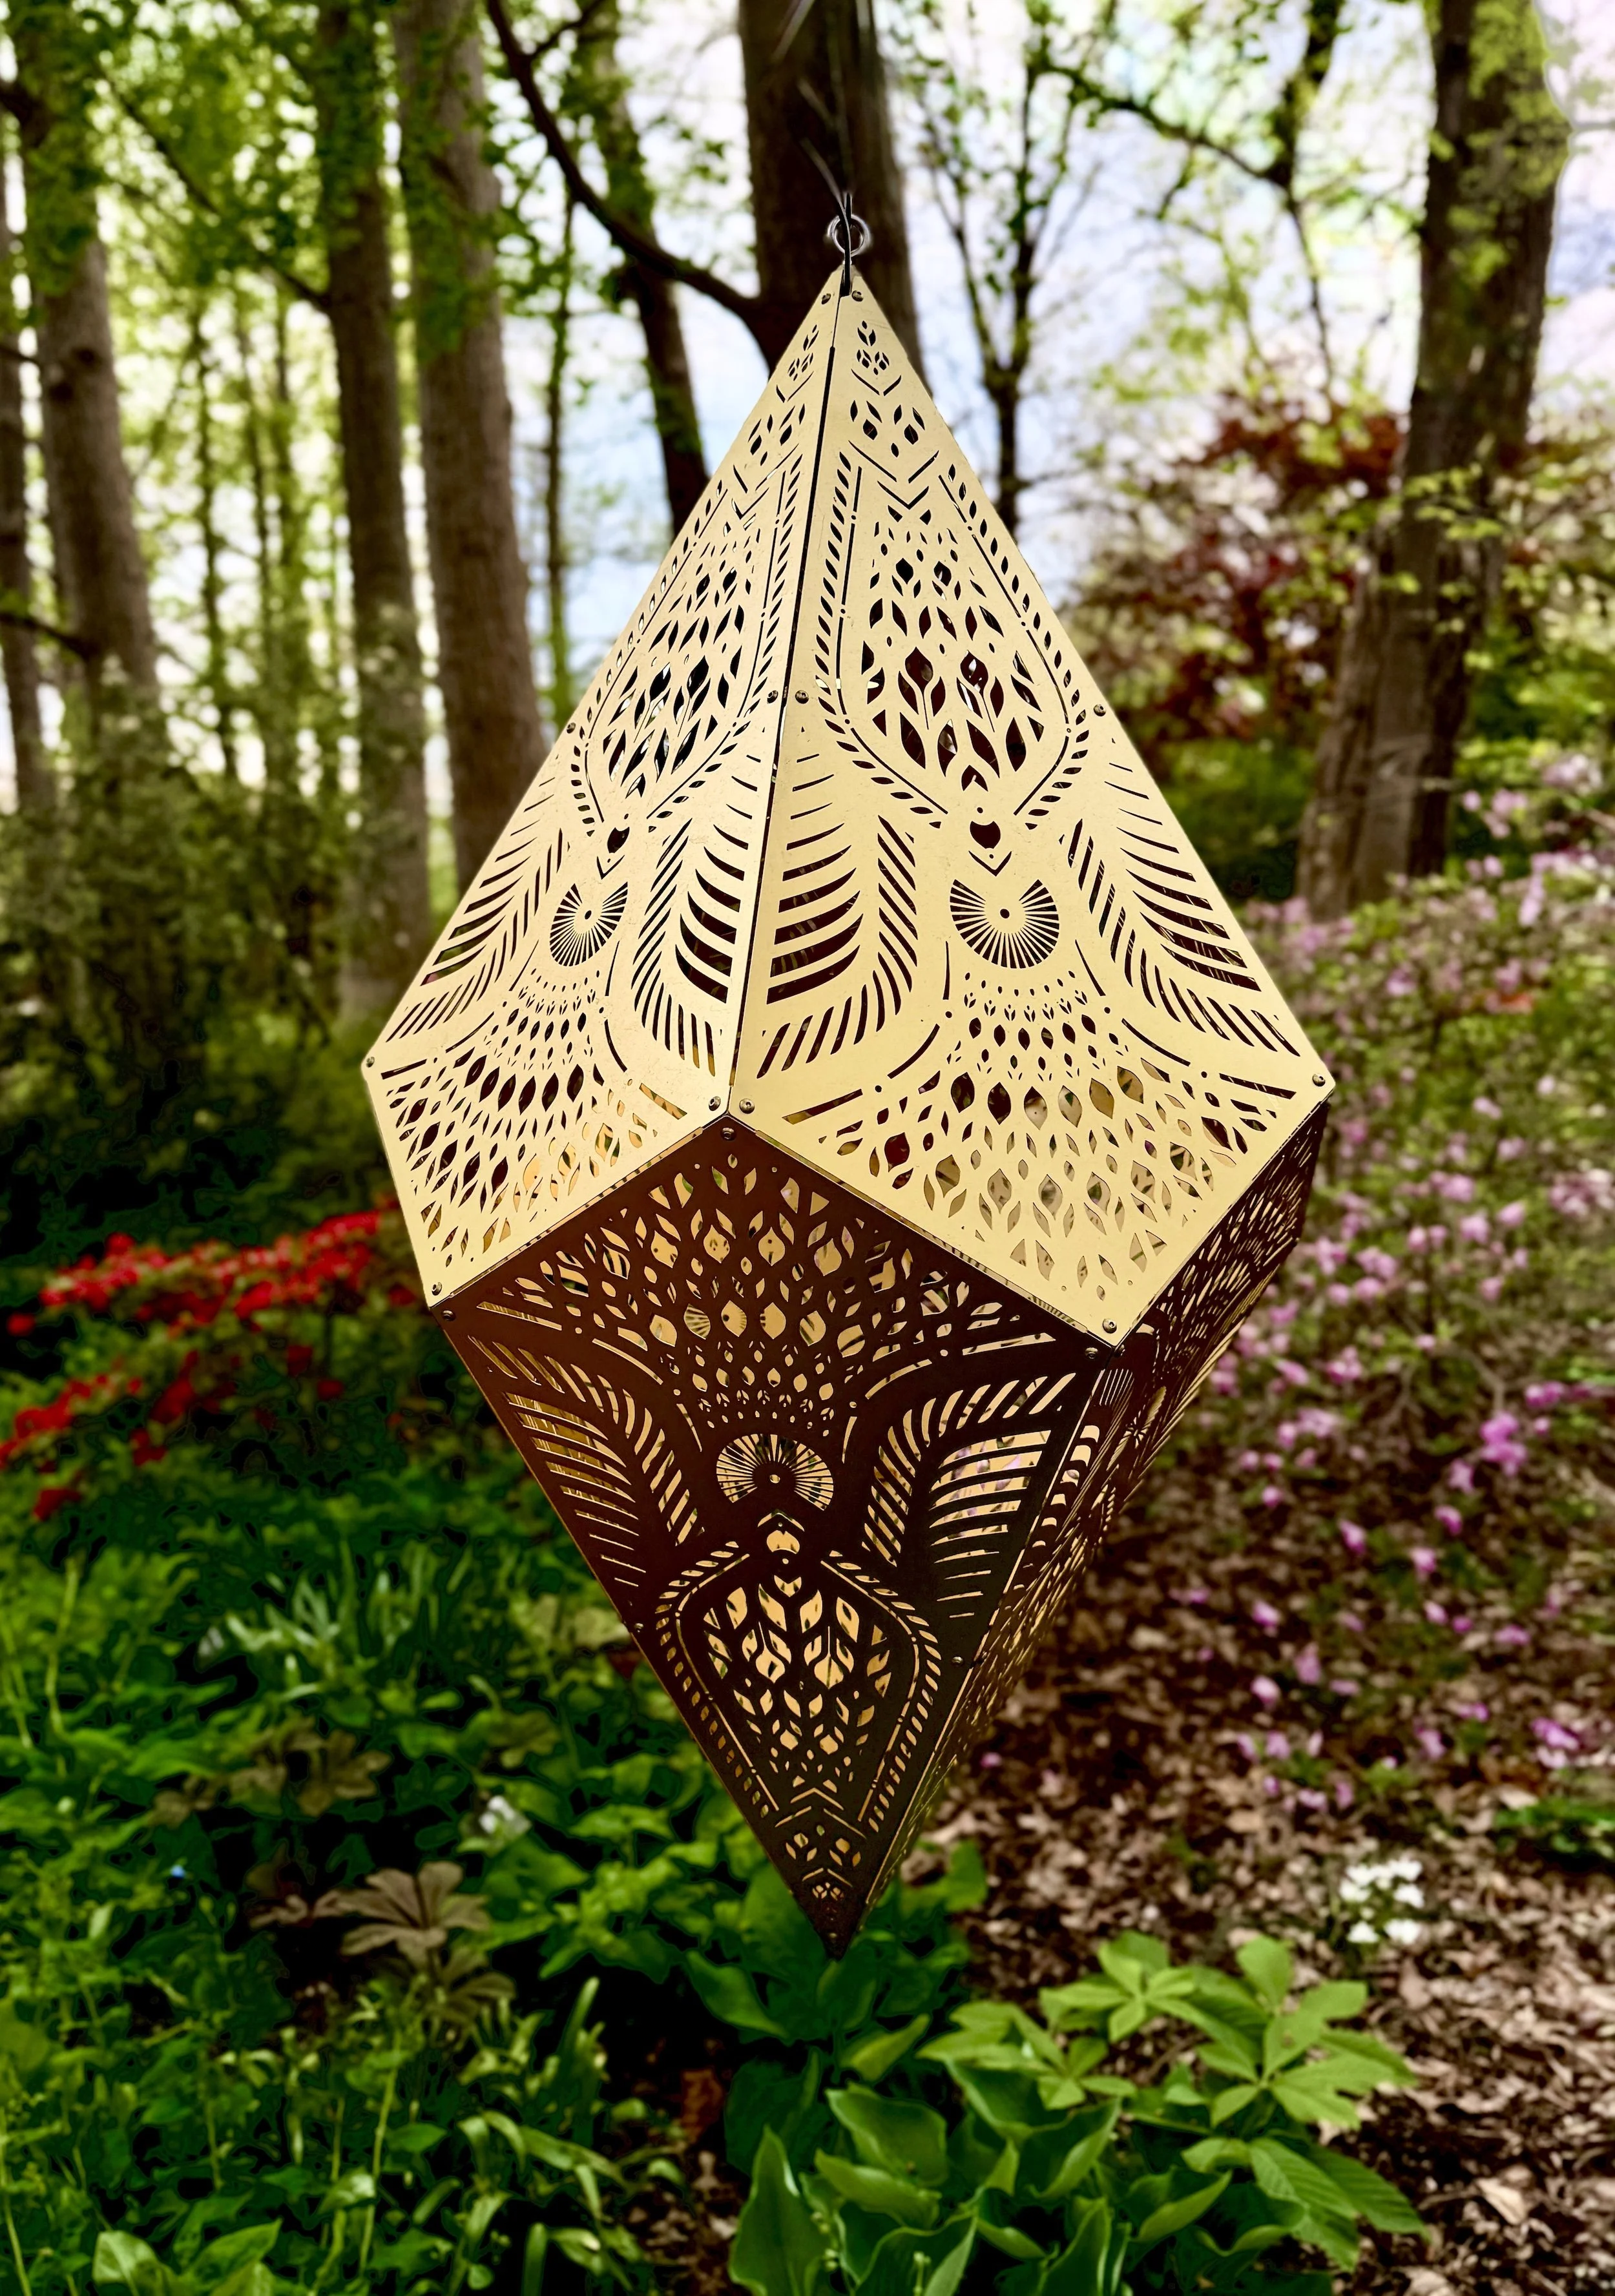
I took the three on this page recently with my phone.
Great photos are only as powerful as the website they live on. If you're ready to put them to work, let's talk.